How To Create a Confidential Token

The onchain ecosystem is powered by tokens, which give users a way to trade value without middlemen, vote in governance proposals, and much more.
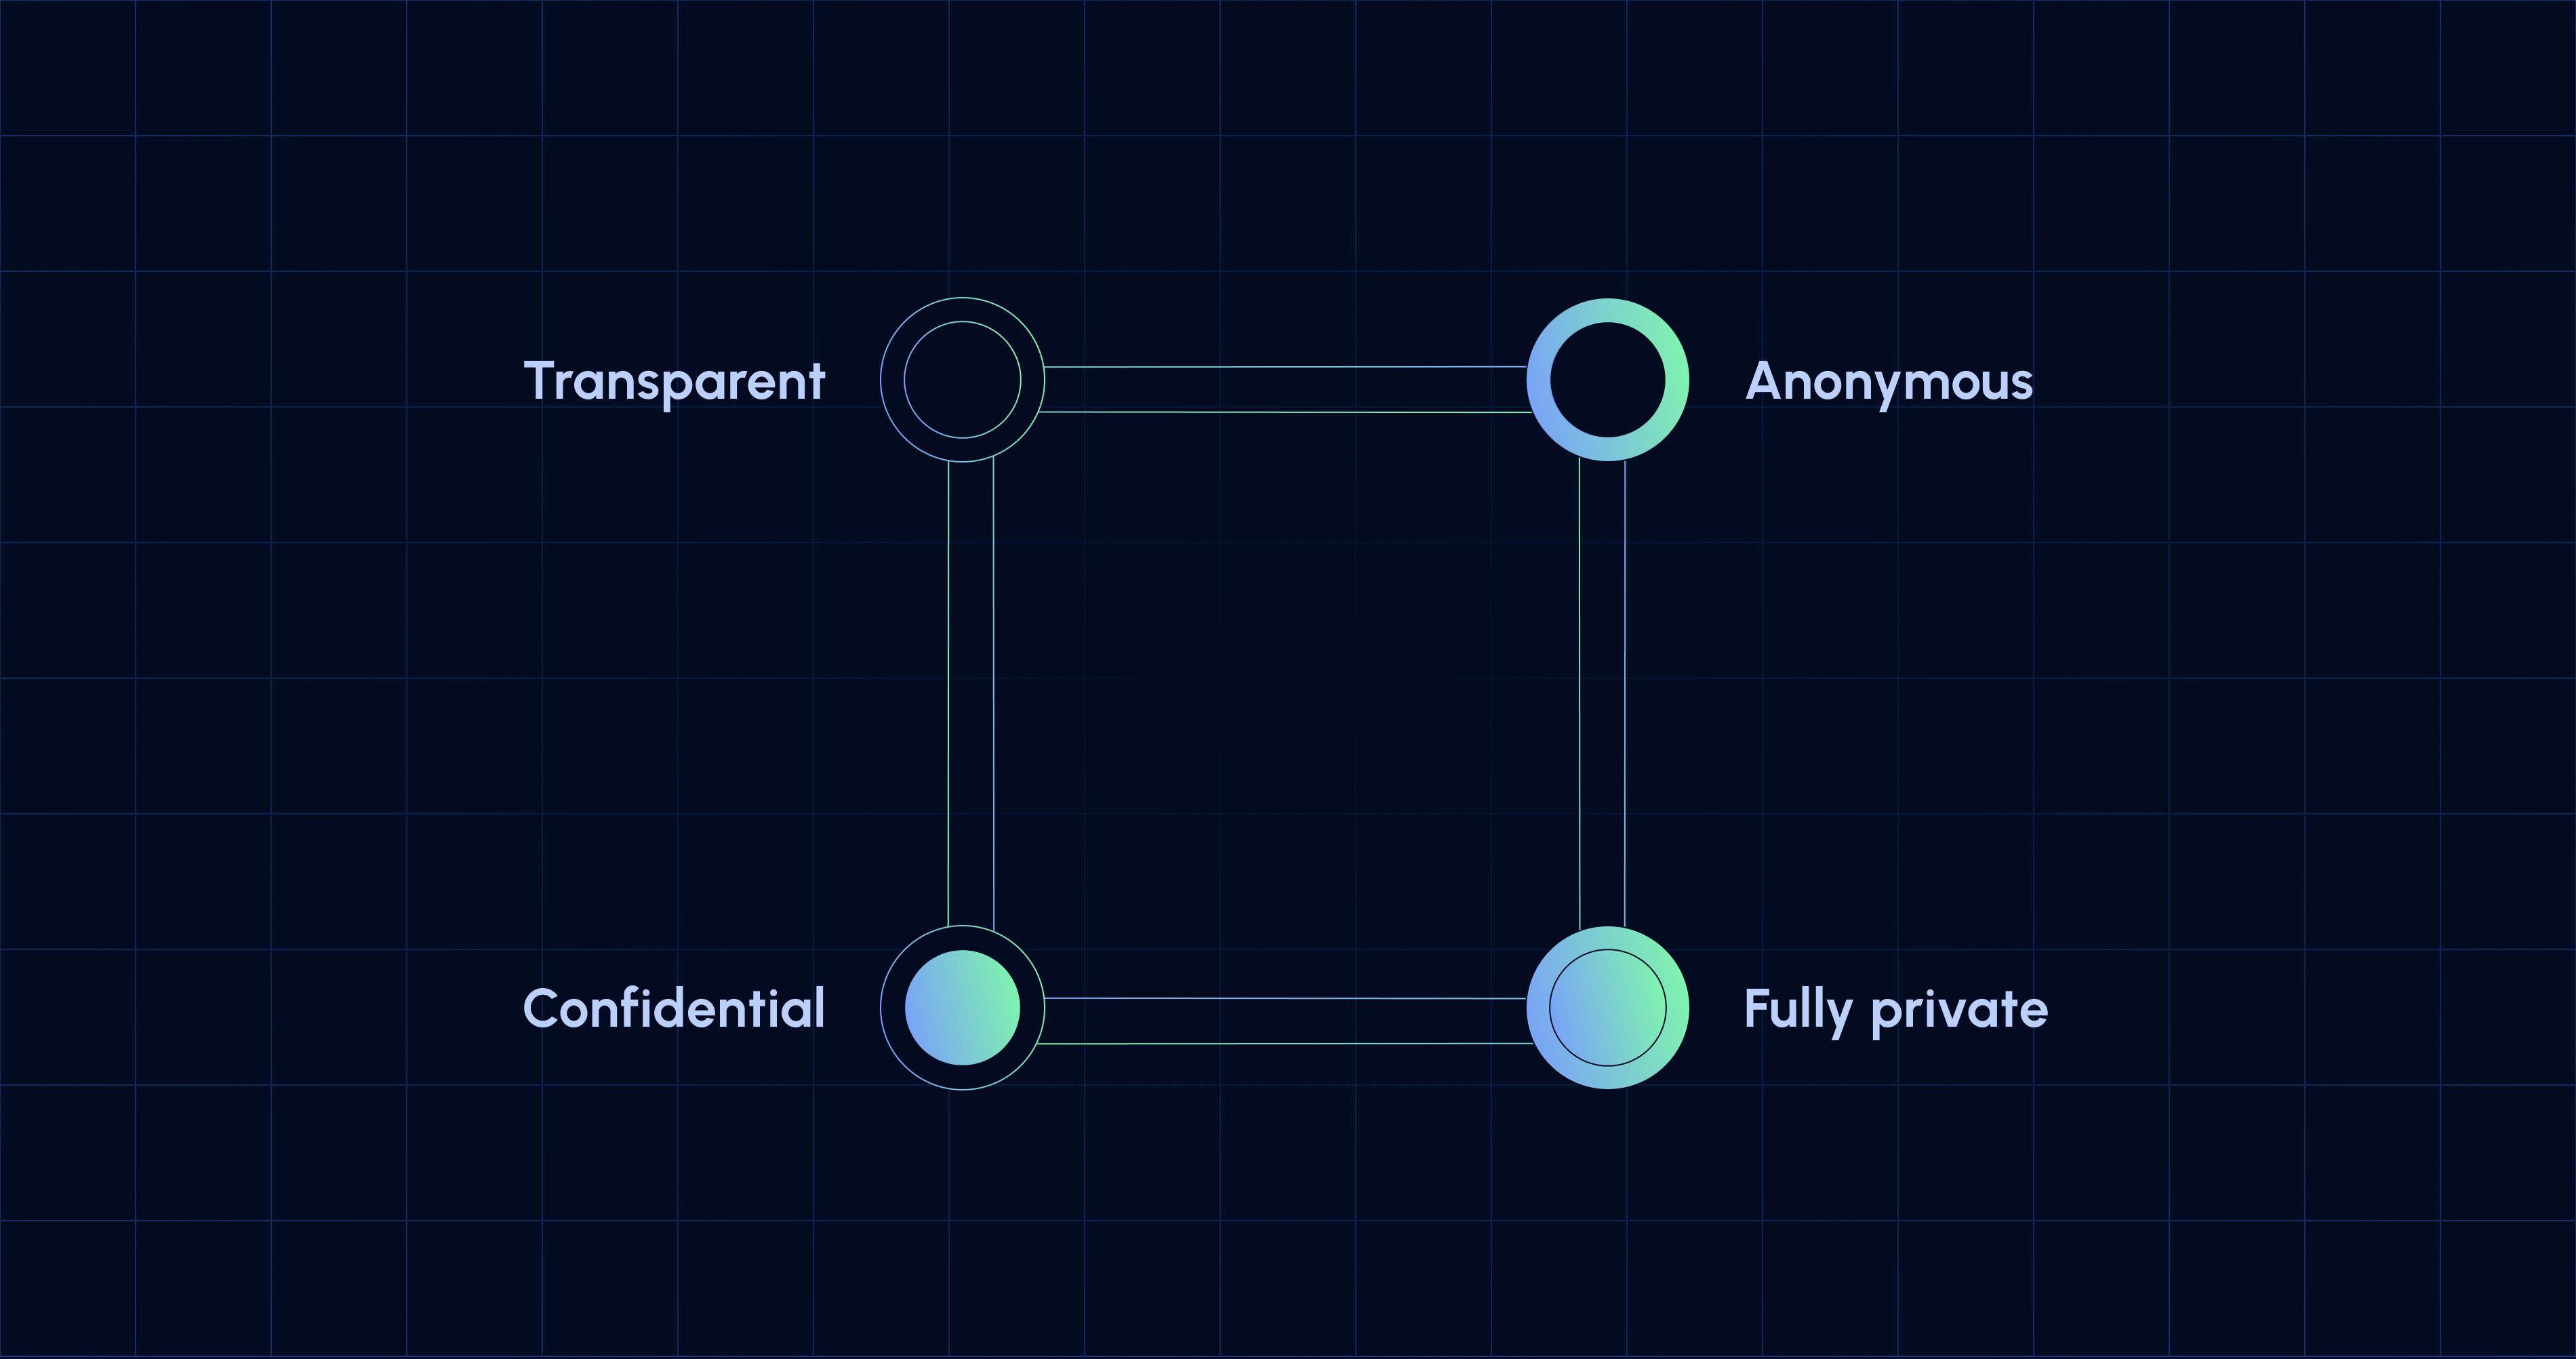
However, on public blockchains, details of token transactions are public for anyone to see. Sending tokens to a friend, receiving your salary in tokens, or engaging in DeFi activity—all of these things currently expose the amount of tokens transferred and the balances of those involved to the world onchain. This is a huge issue for bringing mainstream users onchain, and is a clear drawback against using blockchains versus the regular financial system.
Inco is building a solution for onchain confidentiality. Currently live on Base Sepolia testnet, Inco’s first product, Inco Lightning, offers developers a way to build confidential smart contracts. One key use case of Inco Lightning is to create confidential tokens. And in this demo, that’s what we’re going to show you how to do.
What Is a Confidential Token?
A confidential token is a token where transaction amounts and balances are hidden onchain. The most adopted token standard is known as ERC20, the token standard associated with Ethereum and its layer-2 chains. In this tutorial, we’re going to create a confidential version of an ERC20 token using Inco Lightning and deploy it on Base Sepolia.
How To Create a Confidential Token
Creating a confidential token is easy. All you’ll need are your standard smart contract development tools, including the Solidity library, MetaMask, and Hardhat or Remix (for the purposes of this tutorial, we’ll be using Hardhat). We’re going to deploy the contract to Base Sepolia testnet.
Quickstart: Deploy With Hardhat
Prerequisites
Before you get started with the contract, you’ll need to set up your Hardhat environment.
We recommend installing nvm (Node Version Manager) first and then install Node.js with nvm.
- For Linux: The official Linux version can be found here, or you can follow this tutorial
- For Windows, follow the Readme guide
- For Mac, you can follow this tutorial
Once you’ve done this, you’ll then need to install node.js and pnpm.
nvm install node
npm install -g pnpm
Setting Up Your Environment
Now, clone the template project.
git clone https://github.com/Inco-fhevm/inco-lite-template.git
cd inco-lite-template
Then, install dependencies.
pnpm install
Set up .env file. You can use the values below, taken from the README.
# This should be a private key funded with native tokens.
PRIVATE_KEY_ANVIL="0xac0974bec39a17e36ba4a6b4d238ff944bacb478cbed5efcae784d7bf4f2ff80"
PRIVATE_KEY_BASE_SEPOLIA=""
# This should be a seed phrase used to test functionalities with different accounts.
# You can send funds from the main wallet to this whenever needed.
SEED_PHRASE="garden cage click scene crystal fat message twice rubber club choice cool"
# This should be an RPC URL provided by a proper provider
# that supports the eth_getLogs() and eth_getFilteredLogs() methods.
LOCAL_CHAIN_RPC_URL="http://localhost:8545"
BASE_SEPOLIA_RPC_URL="https://base-sepolia-rpc.publicnode.com"
Note: If you don’t have a mnemonic, you can generate one using this website or use our default test accounts. We recommend using RPC providers instead of public endpoints for better log access.
Next, compile the contracts.
pnpm hardhat compile
Finally, run the tests.
pnpm hardhat test --network anvil
Now, you’re ready to deploy to Base Sepolia.
Deploying to Base Sepolia
After setting the PRIVATE_KEY_BASE_SEPOLIA and BASE_SEPOLIA_RPC_URL fields in the .env file, run the following command:
pnpm hardhat ignition deploy ./ignition/modules/ConfidentialToken.ts --network baseSepolia
Then, you can make sure tests still pass with:
pnpm hardhat test --network baseSepolia
You’ve deployed the contract for the confidential ERC20 Hardhat Template on Base Sepolia. How easy was that?
Now that you’ve deployed the confidential ERC20 contract, let’s understand how it works.
Contract Deep Dive and Manual Deployment
Let’s learn how to set up the basic structure of a confidential token
First, we need to import the necessary contracts and libraries.
pragma solidity ^0.8.24;
import "@inco/lightning/src/Lib.sol";
import "@openzeppelin/contracts/access/Ownable2Step.sol";
Our confidential token contract inherits from Ownable2Step, which provides secure ownership management.
contract ConfidentialERC20 is Ownable2Step {
// Contract implementation will go here
}
The Ownable2Step contract from OpenZeppelin sets the owner in the constructor, allowing only the owner to view all users’ balances.
We need to define our state variables, including encrypted balances and allowances.
uint256 public _totalSupply;
string public _name;
string public _symbol;
uint8 public constant decimals = 18;
// Mappings for balances and allowances
mapping(address => euint256) internal balances;
mapping(address => mapping(address => euint256)) internal allowances;
mapping(uint256 => address) internal requestIdToUserAddress;
Notice that balances and allowances use the euint256 type for encrypted storage.
We need to define the standard ERC20 events plus our custom decryption event.
// Events for Transfer, Approval, Mint, and Decryption
event Transfer(address indexed from, address indexed to);
event Approval(address indexed owner, address indexed spender);
event Mint(address indexed to, uint256 amount);
event UserBalanceDecrypted(address indexed user, uint256 decryptedAmount);
It’s important to understand three key aspects of the contract.
- Encrypted types: euint256 is used for encrypted integers, ensuring balance privacy
- Access control: Ownable2Step provides secure ownership management
- Events: Events enable tracking transfers and approvals without revealing amounts
Contract Functions
Let’s look at the core functionality of the confidential token.
The constructor sets up the initial token configuration:
constructor() Ownable(msg.sender) {
	_name = "Confidential USD";
	_symbol = "cUSD";
 }
There are two minting functions for different use cases:
// Standard minting with plaintext amount
function mint(uint256 mintedAmount) public virtual onlyOwner {
balances[owner()] = e.add(
balances[owner()],
e.asEuint256(mintedAmount)
);
e.allow(balances[owner()], address(this));
e.allow(balances[owner()], owner());
_totalSupply += mintedAmount;
emit Mint(owner(), mintedAmount);
}
// Minting with encrypted amount
function _mint(bytes calldata encryptedAmount) public virtual onlyOwner {
balances[msg.sender] = e.add(
balances[msg.sender],
e.newEuint256(encryptedAmount, msg.sender)
);
e.allow(balances[msg.sender], address(this));
e.allow(balances[msg.sender], owner());
e.allow(balances[msg.sender], msg.sender);
}
The _mint function accepts encrypted amounts for enhanced privacy.
Two versions of transfer are available:
// For EOAs using encrypted inputs
function transfer(
address to,
bytes calldata encryptedAmount
) public virtual returns (bool) {
transfer(to, e.newEuint256(encryptedAmount, msg.sender));
return true;
}
// For contract interactions
function transfer(
address to,
euint256 amount
) public virtual returns (bool) {
ebool canTransfer = e.ge(balances[msg.sender], amount);
_transfer(msg.sender, to, amount, canTransfer);
return true;
}
The approval system allows delegated spending:
// Approve for EOAs
function approve
(    address spender,
bytes calldata encryptedAmount
) public virtual returns (bool) {
approve(spender, e.newEuint256(encryptedAmount, msg.sender));
return true;}
// Approve for contracts
function approve(
address spender,
euint256 amount
) public virtual returns (bool) {
_approve(msg.sender, spender, amount);
emit Approval(msg.sender, spender);
return true;
}
// Internal approval logic
function _approve(
address owner,
address spender,
euint256 amount
) internal virtual {
allowances[owner][spender] = amount;
e.allow(amount, address(this));
e.allow(amount, owner);
e.allow(amount, spender);
}
For spending approved tokens:
// TransferFrom for EOAs
function transferFrom(
address from,
address to,
bytes calldata encryptedAmount
) public virtual returns (bool) {
transferFrom(from, to, e.newEuint256(encryptedAmount, msg.sender));
return true;
}
// TransferFrom for contracts
function transferFrom(
address from,
address to,
euint256 amount
) public virtual returns (bool) {
ebool isTransferable = _updateAllowance(from, msg.sender, amount);
_transfer(from, to, amount, isTransferable);
return true;
}
View functions to check balances and allowances:
// Get encrypted balance
function balanceOf(address wallet) public view virtual returns (euint256) {
return balances[wallet];
}
// Get encrypted allowance
function allowance(
address owner,
address spender
) public view virtual returns (euint256) {
return _allowance(owner, spender);
}
Special functions for the contract owner:
// Request balance decryption
function requestUserBalanceDecryption(
address user
) public onlyOwner returns (uint256) {
euint256 encryptedBalance = balances[user];
e.allow(encryptedBalance, address(this));
uint256 requestId = e.requestDecryption(
encryptedBalance,
this.onDecryptionCallback.selector,
""
);
requestIdToUserAddress[requestId] = user;
return requestId;
}
Now let’s see how all these functions come together in the complete contract. Here’s the complete implementation of the confidential ERC20 token contract on GitHub; you can find this code in ConfidentialERC20.sol if you’re using the Hardhat template.
Deploying the Contract
You can use the Hardhat template to build your contract, as we demonstrated above. But to deploy the contract above on your own using Hardhat Ignition, there are just a few simple steps.
First, create a deployment module in ignition/modules/ConfidentialToken.ts.
import { buildModule } from "@nomicfoundation/hardhat-ignition/modules";
const ConfidentialERC20Module = buildModule("ConfidentialERC20Module", (m) => {
const confidentialERC20Module = m.contract("ConfidentialERC20");
return { confidentialERC20Module };
});
export default ConfidentialERC20Module;
Then, deploy using the following command.
pnpm hardhat ignition deploy ./ignition/modules/ConfidentialToken.ts --network baseSepolia
Finally, run tests to verify the deployment.
pnpm hardhat test --network baseSepolia
The contract will be deployed with:
Name: “Confidential USD”
Symbol: “cUSD”
Decimals: 18
Owner: The deploying address (msg.sender)
Conclusion: How Easy Was That?
By this point you’ll have your confidential smart contract token in production on Base Sepolia, enabling users to transact confidentially, and you’ll also have an understanding of the contract logic. It’s important to note that this is far from the only use case possible with a confidential smart contract: theoretically, you could build any blockchain application you can think of and use the Inco library to leverage confidential smart contract data types.
Want to go further building with Inco? Check out the documentation.
Incoming newsletter
Stay up to date with the latest on FHE and onchain confidentiality.
.svg)


.png)